Article
What is an NFT? — An explanation for everyone.
A Non-Fungible Token (NFT) is nothing more than a statement of ownership. Usually, this statement includes a pointer to an external asset, an image for example. How the ownership of the NFT relates to that asset is often unclear and can be complicated.
Article
How To Build An NFT Website
View and Mint Non-Fungible Tokens in an Ethereum smart contract with Web3 JavaScript

Update
Connecting Metamask
A #sketch of Alpha Zeta connecting the #NFT #website for my #tutorial to a @metamask wallet.

Update
Minting Section Header
Progress of the #tutorial section header art from #sketch to final. Line art is drawn in #Adobe #Illustrator and final coloring done in #Photoshop.

Update
More Section Headers
Starting to get organized with the section art for my #NFT #website #tutorial. FPO pencil sketches to be finished in #Adobe #Illustrator and others recycled from past #articles and #presentations I’ve done.

Update
Contract Writing
Another #sketch of Alpha Zeta, this time writing a smart contract for my #NFT #website #tutorial.

Update
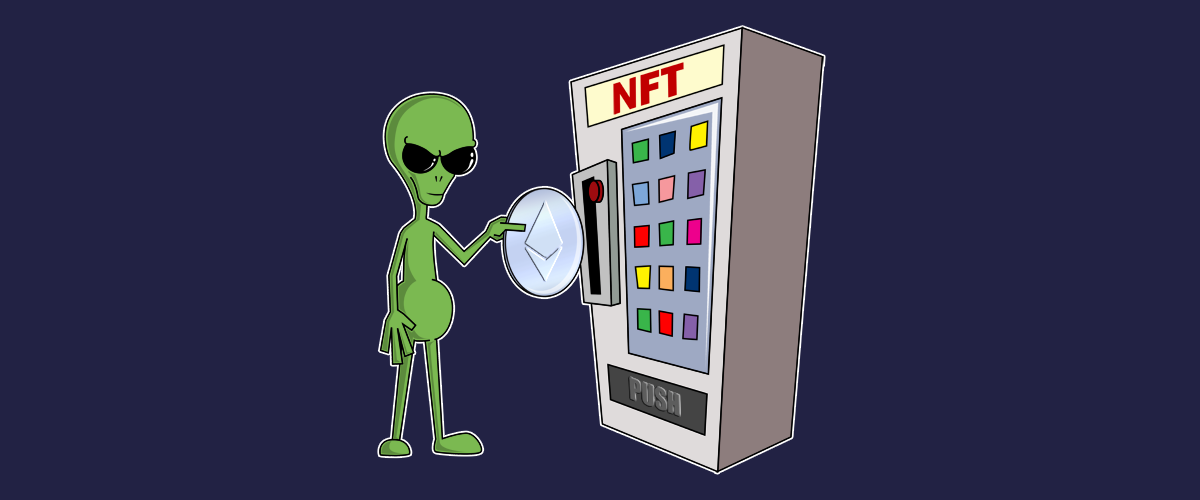
NFT Vending Machine
A #sketch of an idea I had of a graphic for my #NFT #website #tutorial. Alpha Zeta dropping some $ETH into an NFT vending machine.

Update
Section Headers
First draft of the #NFT #website #tutorial is done. It’s clocking in at just over 3000 words. I’m working on some cropped versions of the screenshots to use as section headers.
Update
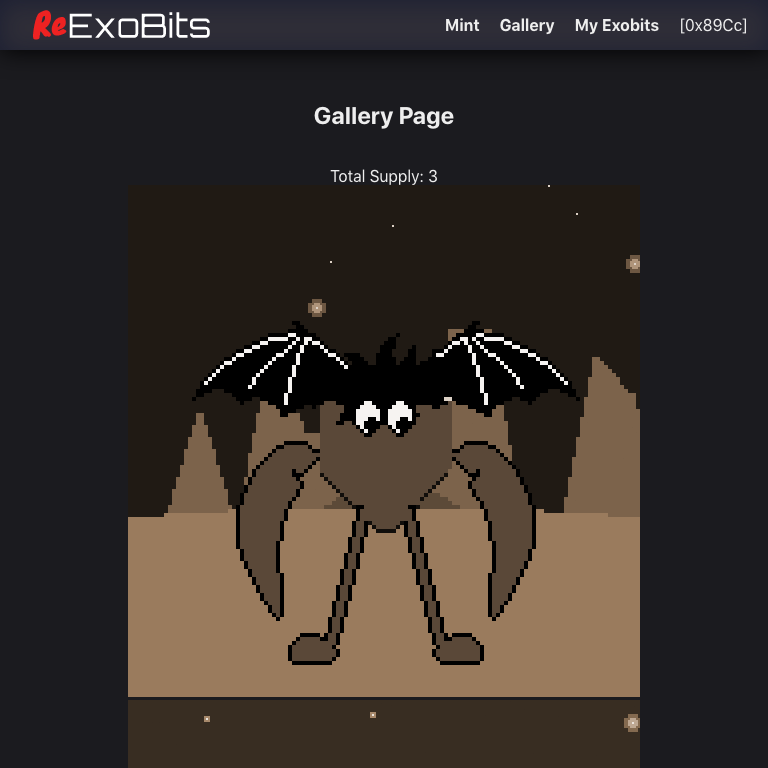
NFT Token Gallery Demo
An example token gallery is available in the ReExoBits demo. This uses the #Web3js #JavaScript library to read the token count from the contract, then retrieve each URI to display its image.

Update
NFT Mint Demo
The ReExoBits demo site will use the #web3js #JavaScript library to mint a token in the included smart contract. Unminted images are displayed on this page. Click on an image to mint the token.
Update
Metamask
The ReExoBits #tutorial will cover deployment of an #ERC721 contract using #Remix, a free browser-based IDE. The Rinkeby testnet is used, which I prefer because of compatibility with #OpenSea test servers.

Update
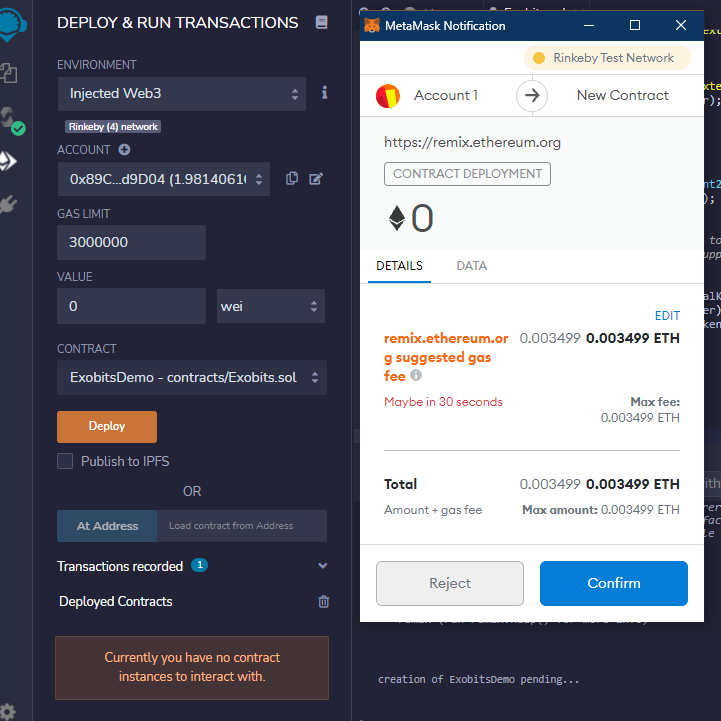
Contract Deployment
The ReExoBits #tutorial will cover deployment of an #ERC721 contract using #Remix, a free browser-based IDE. The Rinkeby testnet is used, which I prefer because of compatibility with #OpenSea test servers.

Update
ReExoBits
The home page for ReExoBits, a website to sell used NFTs! This website will serve as the demo for an #article I’m writing on creating a #website to mint #NFTs.

Update
Remix
A sample #ERC721 smart contract will be included in the demo. Built on top of the #OpenZepplin templates. The #tutorial will cover #development of the contract using #Remix, a free browser-based IDE.
Update
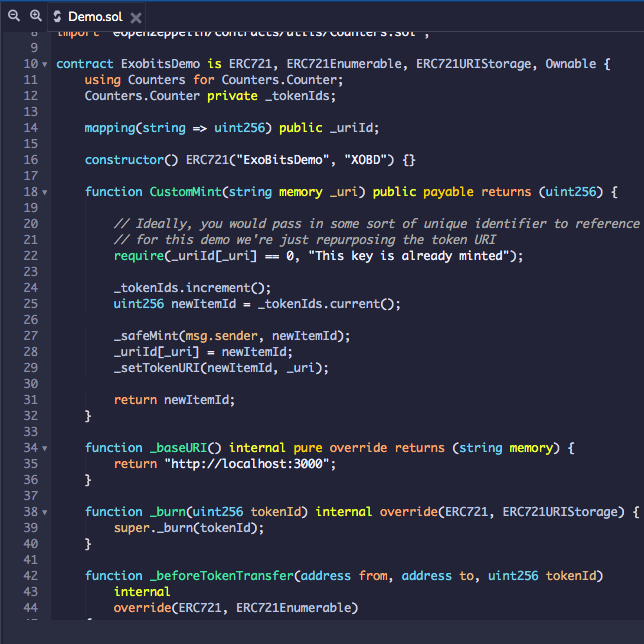
Demo Contract
A sample #ERC721 smart contract will be included in the demo. Built on top of the #OpenZepplin templates. The contract is fairly simple because #article focuses on the #JavaScript necessary to interact with it.

Update
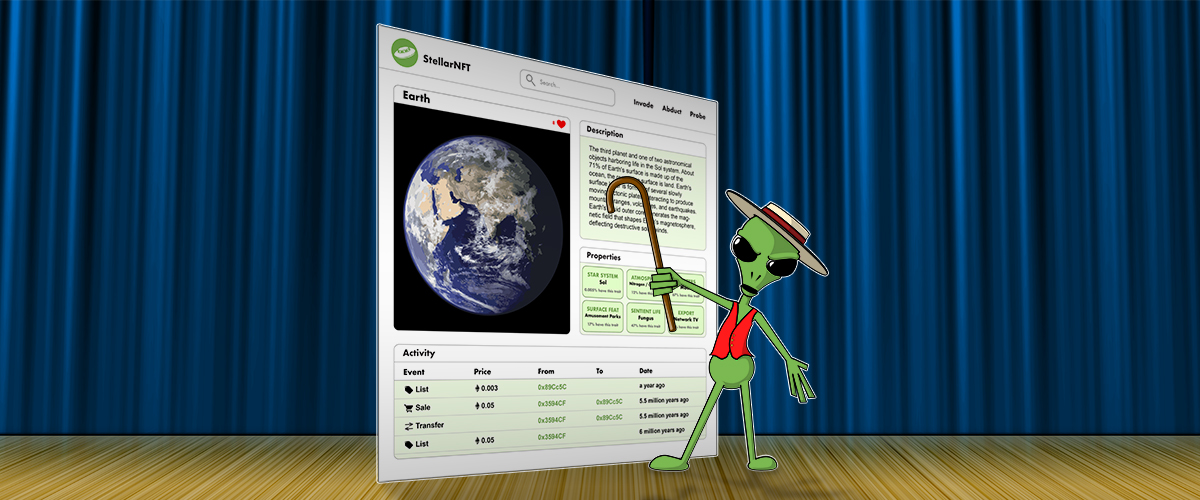
Gently Used Hero
The hero image for my demo project, a #tutorial on making a website with #NFT minting features. The demo will involve minting “gently used #NFTs” so the ExoBits are featured here in an old timey sepia tone.

Update
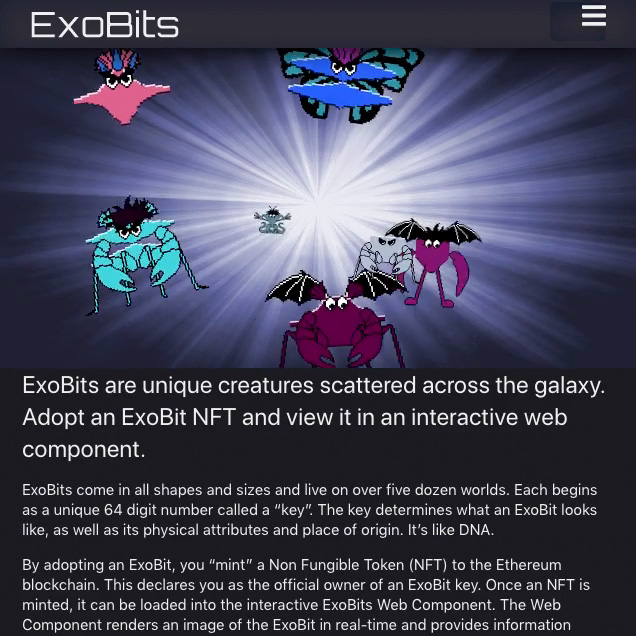
A New Website
Working on a new logo. ReExoBits a website to sell used NFTs! This isn’t a real website but it’ll serve as the demo for an #article I’m writing on creating a #website to mint #NFTs.

Update
They’re Alive!
The ExoBits website is now live: https://exobitsnft.com/ 1024 ExoBit tokens are ready to mint and receive their permanent names. Click the link to go to the website and get your own!

Update
My ExoBits
Testing out the ExoBits production site and minting a few #NFTs of my own. There are 1024 total so there’s plenty more to claim.

Update
Jake
Meet Jake, the first ExoBit #NFT minted to the #Ethereum blockchain. The screenshot is of the static image preview in my wallet. You can check out Jake on the ExoBits website to interact with the #WebComponent

Update
Key Generation
Console output from generating the 1024 unique keys for all ExoBit #NFTs. This includes the static preview image that will be uploaded to IPFS. I’m using a service called Pinata to pin the images and make them public. It alo has a an api that will allow me to update the metadata, as part of […]

Update
Minting
The website lets you mint (create) an ExoBit #NFT through your #MetaMask wallet. During the process you have the opportunity to permanently name the character. Once minted, the ExoBit becomes available in the interactive #WebComponent.
Update
Animated Hero
The ExoBits website hero image replaced with #css #animation. The flickering effect is produced by fading an inverted copy of the background image.
Update
Name Plaques
One of the advantages of minting (creating) an ExoBit #NFT is you get to name the character. Name plaques in the main gallery put that name in a prominent place. The name is also visible in the interactive #WebComponent.
Update
Owner Gallery
A closer look at some of the controls available to #NFT owners in their personal gallery. Includes the token #ipfs url, an http link to the metadata and several methods of sharing on social media.

Update
How It Works
A diagram for the ExoBits home page that illustrates how the #Ethereum contract, #NFT metadata and #WebComponent come together to create an ExoBit

Update
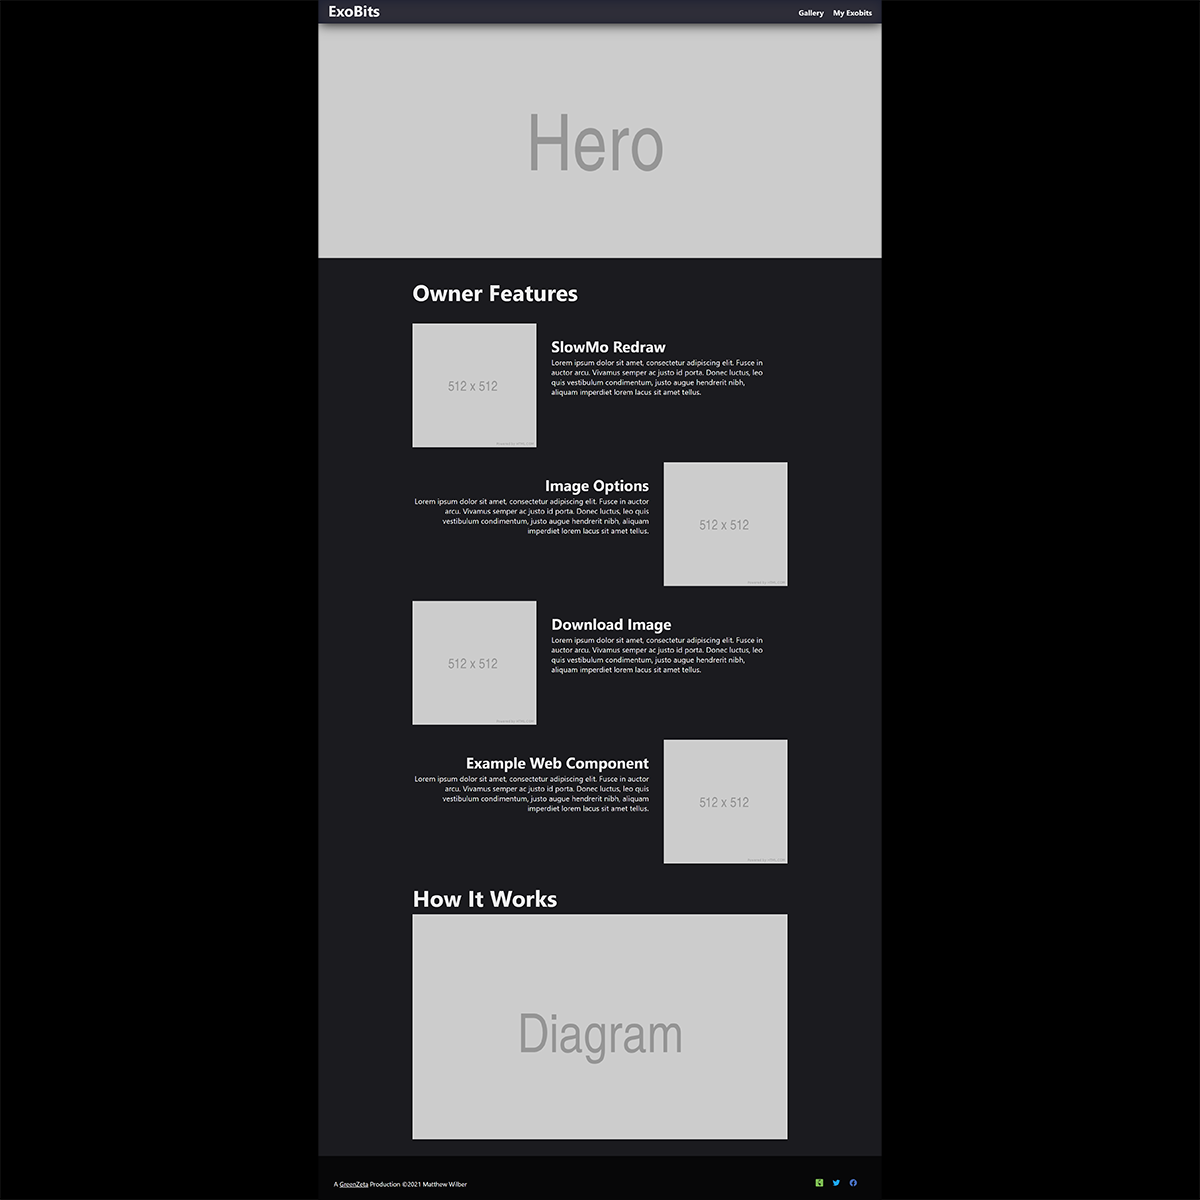
Owner Features
The ExoBits home page. Animated gifs provide a quick visual demonstration of #NFT owner features in the #WebComponent. Because the #DigitalArt is drawn in real-time, the background or character can be removed from the scene and the resulting image is downloadable.

Update
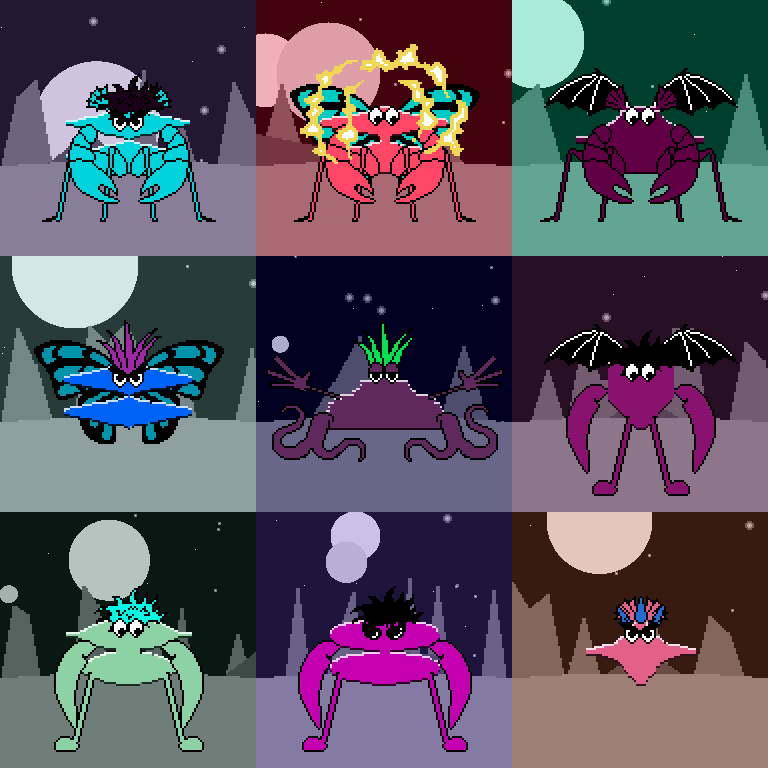
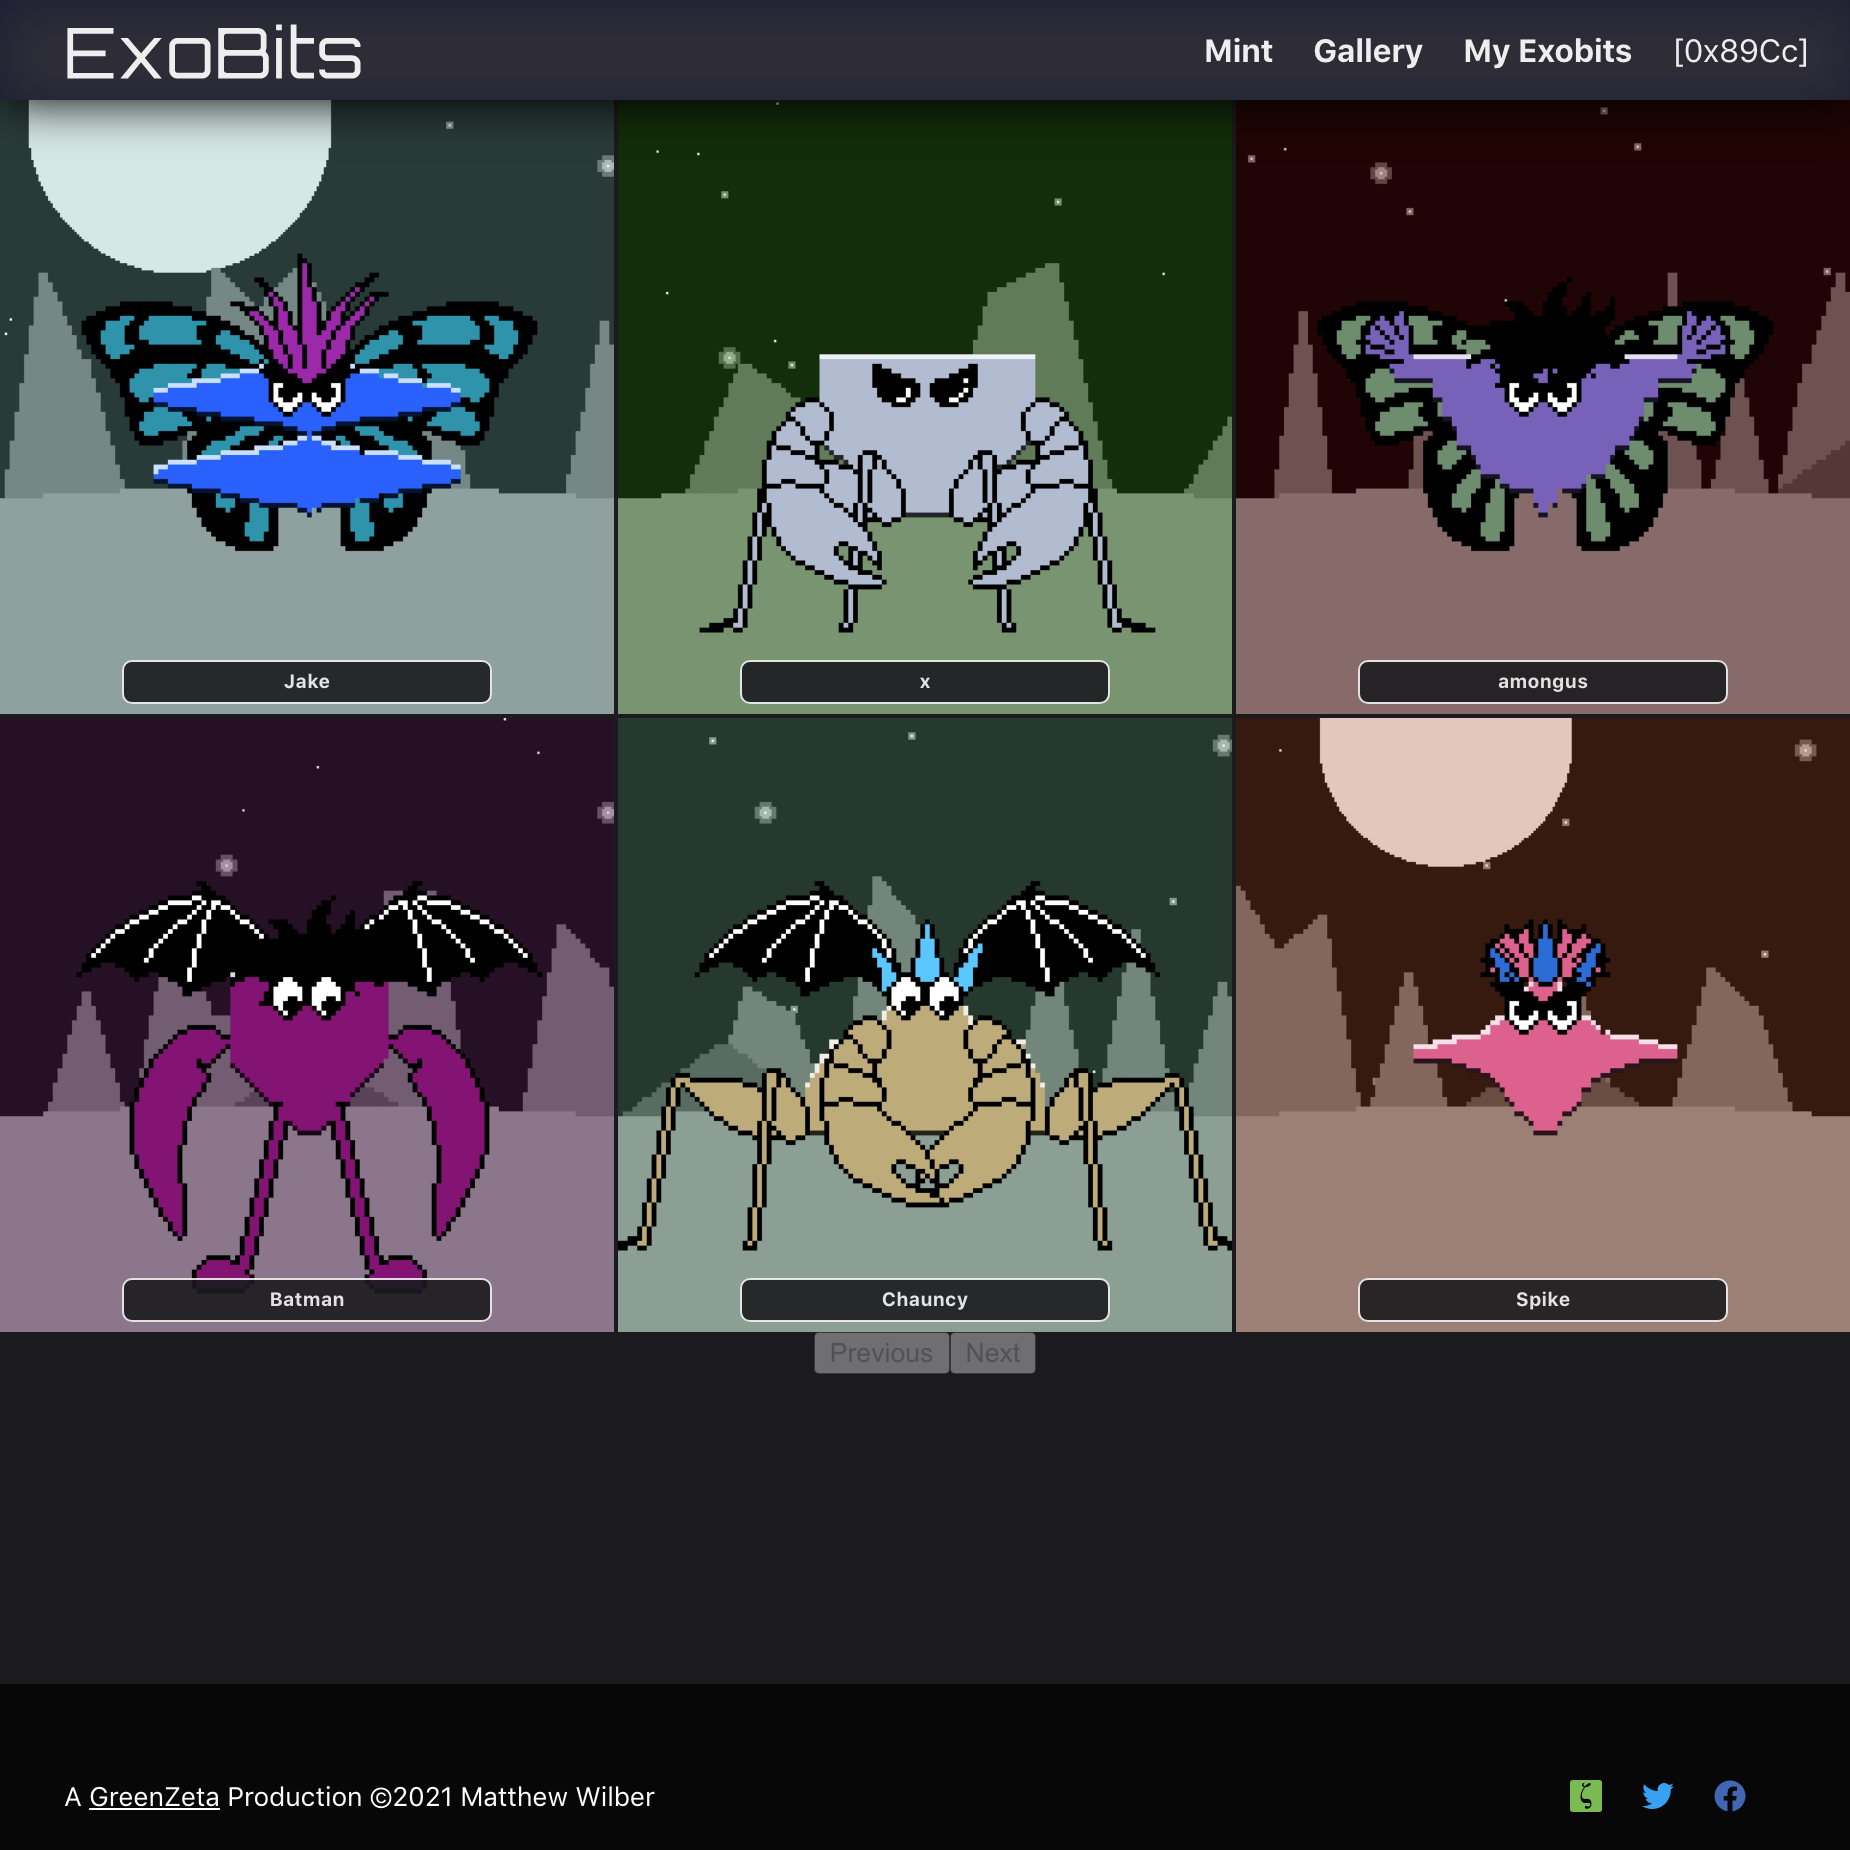
Main Gallery
A closer look at the main ExoBits gallery. These are minted #NFT that are displayed in the interactive #WebComponent.

Update
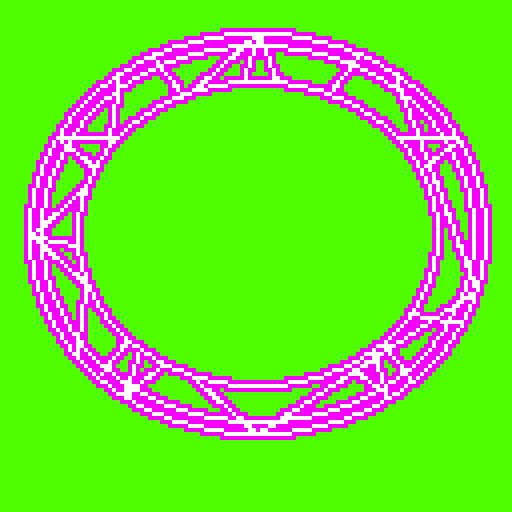
Fly Wings
The #PixelArt asset for a fly wing attribute. The magenta color is interpreted as “custom” which is determined at runtime. This will allow for alpha transparency in the wing when rendered in the scene.
Update
Special Powers
In addition to physical attributes, some ExoBits will have mental powers like telepathy and telekinesis. This asset indicates a teleportation power.

Update
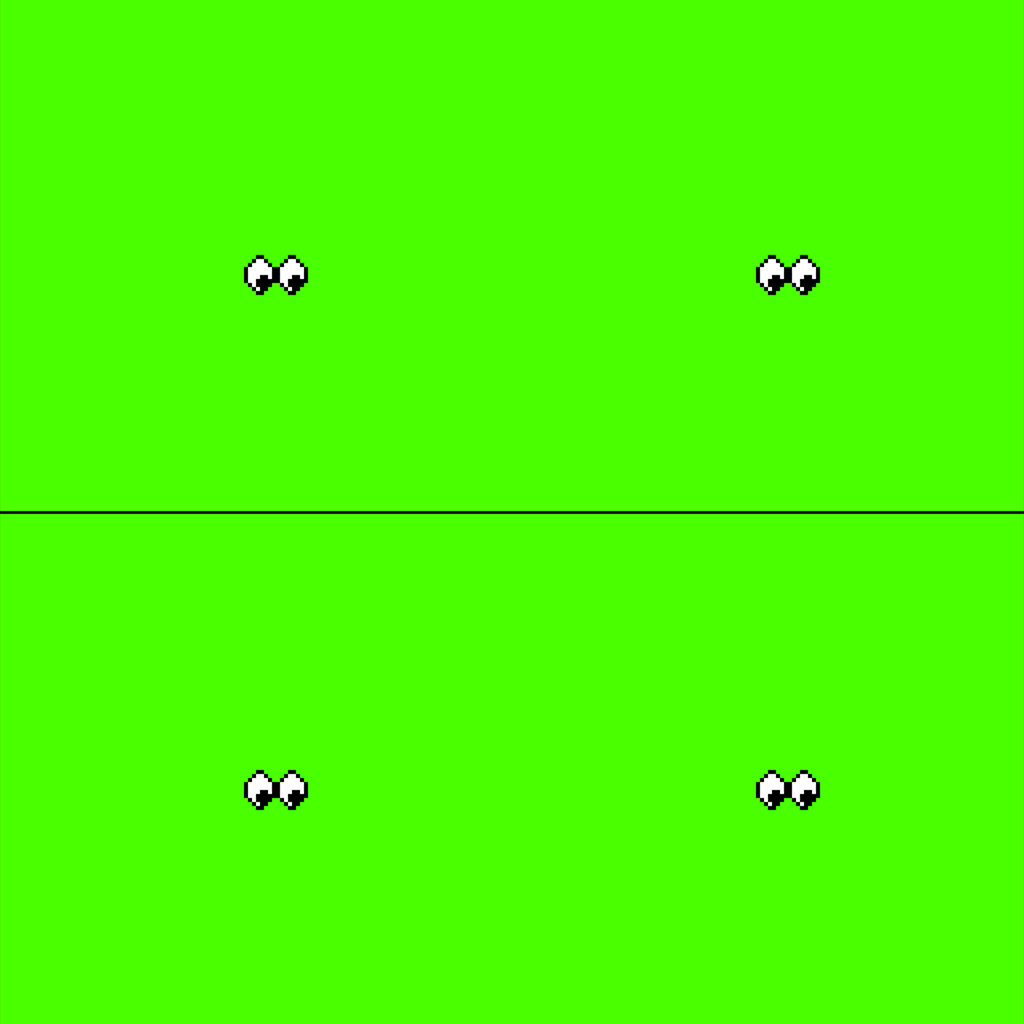
Eye Assets
Bringing more personality to the ExoBits by tripling the eye assets. The eyes, determined by the #ProceduralArt key, also dictates the character “disposition” attribute.

Update
Gallery Detail
Another look at the ExoBit minting gallery. Clicking on an image enlarges it and reveals the mint button. At this point, it’s just a static image. Minting the #NFT generates the necessary #metadata to load in the #interactive #WebComponent.

Update
Mint Gallery
A gallery of random ExoBits available for minting. Additional ExoBits can be viewed by reloading the page. At this point, they’re just static images. Once minted, the character #metadata is generated for the #NFT and viewable via the #WebComponent in either the public or private gallery pages.

Update
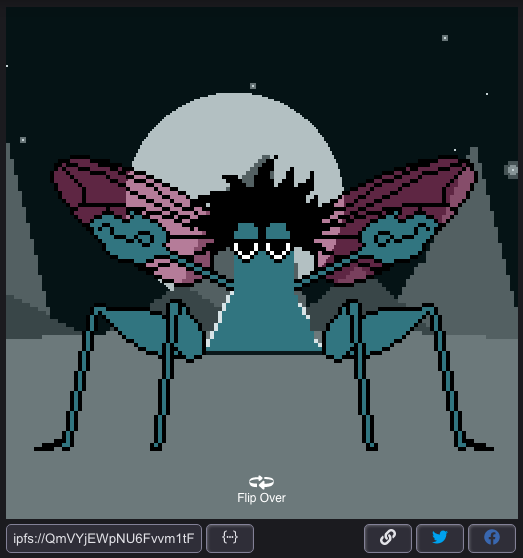
NFT Interaction
The earlier fade-in that shows character stats has been replaced with a flip-over effect that makes the ExoBit #NFT feel more like a #tradingcard. The earlier hover event has been replaced with click/tap for touch interfaces.

Update
Minting
An early look at the front-end for minting ExoBits. The website uses the #Web3 #javascript library to interact with the contract via @MetaMask. Once minted, the gallery item is flagged with a yellow badge.
Update
Homepage Scaffold
A rough layout of the ExoBits homepage. The site header, footer and color scheme are complete. The section at the bottom will explain the architecture of the #WebComponent & its core functions that are stored #OnChain.

Update
Gallery
Building out the ExoBits website in #React using a local #blockchain with the #Truffle suite. Images will be clickable and reveal the interactive #webcomponent. Some FBO markers show which of the characters have been minted.
Update
Image Settings
Check out the video for a demo of the Exobit #WebComponent image settings. Remove the background, or the character and watch it redraw in slow motion. These are features meant to emphasize that this isn’t a static image, only the #NFT owner will have access to them.

Update
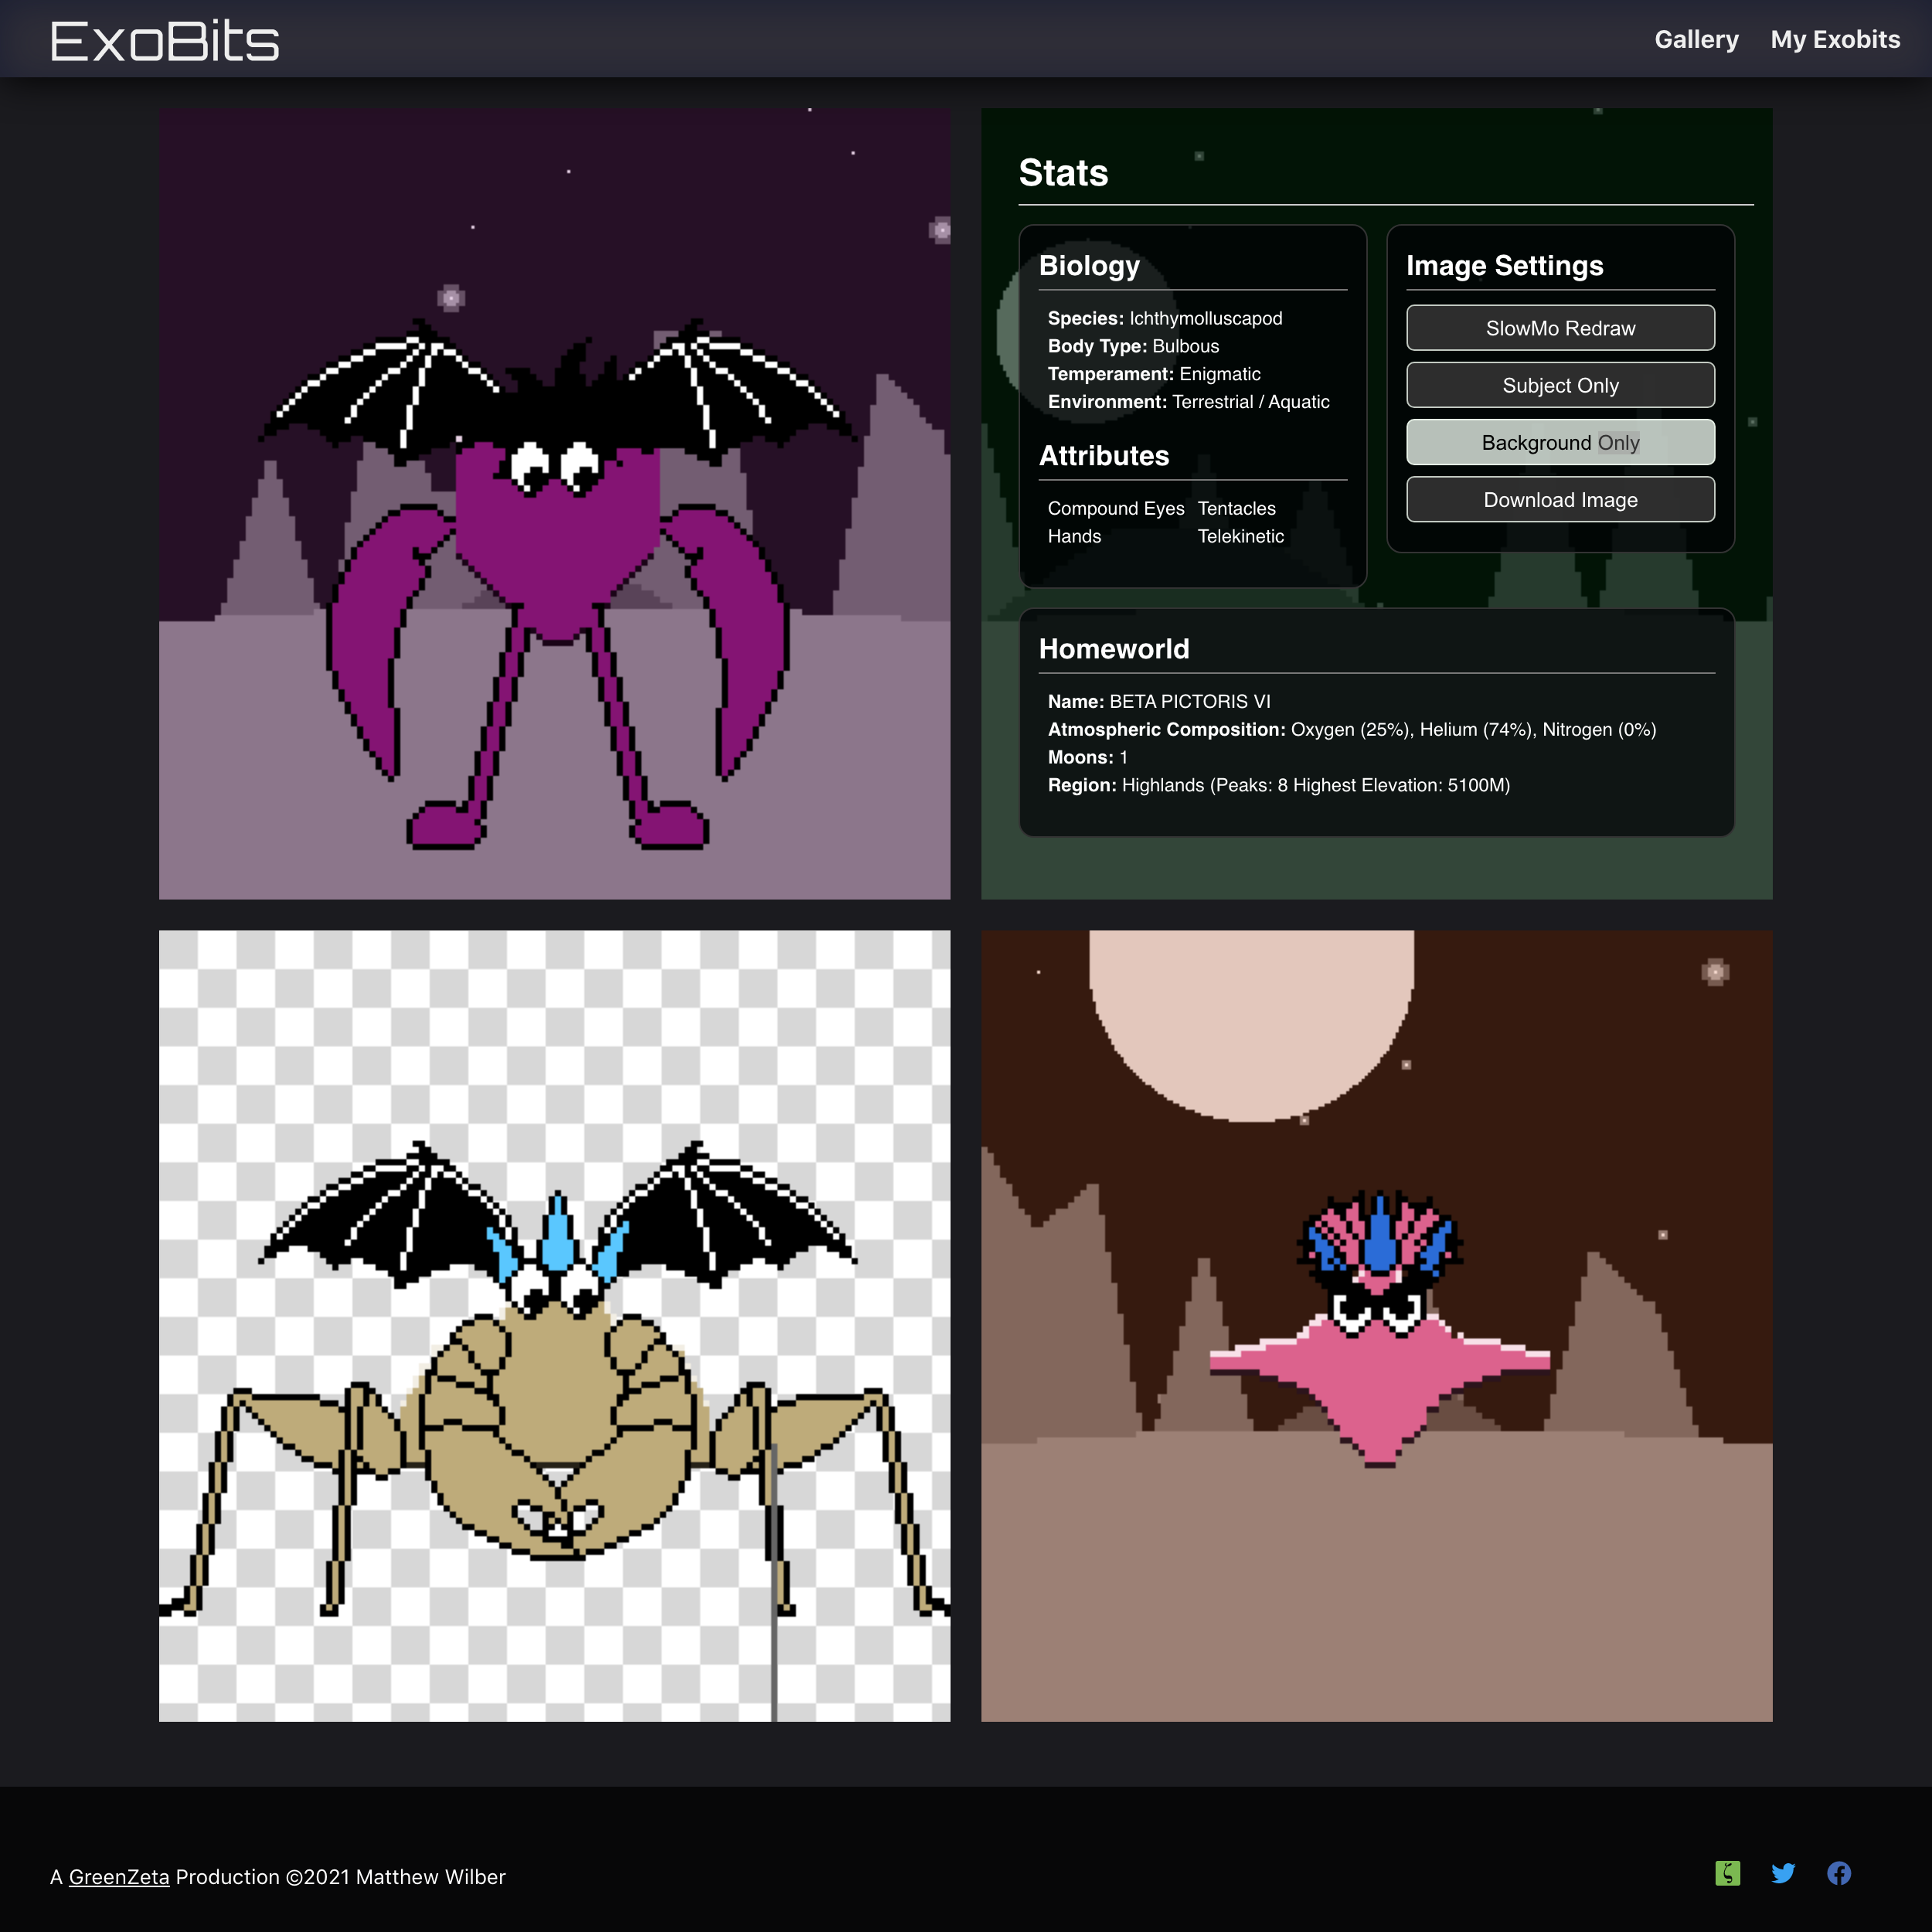
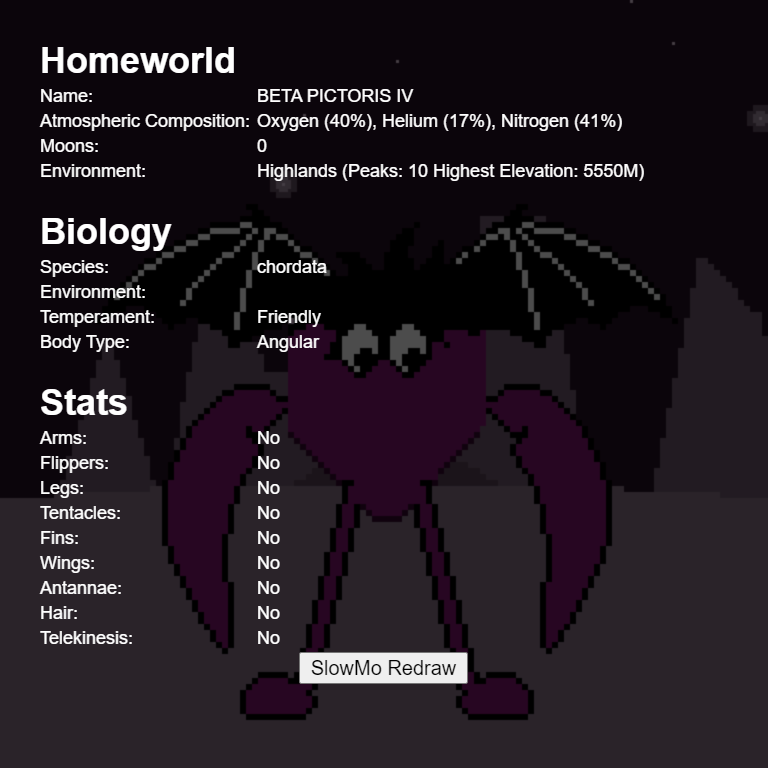
Character Profile
The final character profile layout in the Exobit #WebComponent. All information here is derived directly from the key, with a little creative interpretation. In production, the “Image Setting” buttons will only be available to the #NFT owner.

Update
Action Button
Here’s a video of the SlowMo redraw feature tied into the character stats in the #WebComponent. In production, only the owner of the #NFT will have access to this feature.
Update
SlowMo Redraw
I added a slow motion redraw feature to emphasize that Exobits are not static images. All #JavaScript canvas calls are collected in an array. In slowmo mode they are called in a 50ms interval, allowing you to see how the whole thing is drawn. Check out the video to see it in action.
Update
Stats Panel
This is a rough go at the Exobit character stats which are derived directly from the key data, with a little creative interpretation. I’m building this out as a #WebComponent to easily plug into websites.

Update
Character Metadata
Overlaid on the image is raw data collected as the image is rendered via #JavaScript. This will be applied to the character stats that will appear when tapping or mousing over.

Update
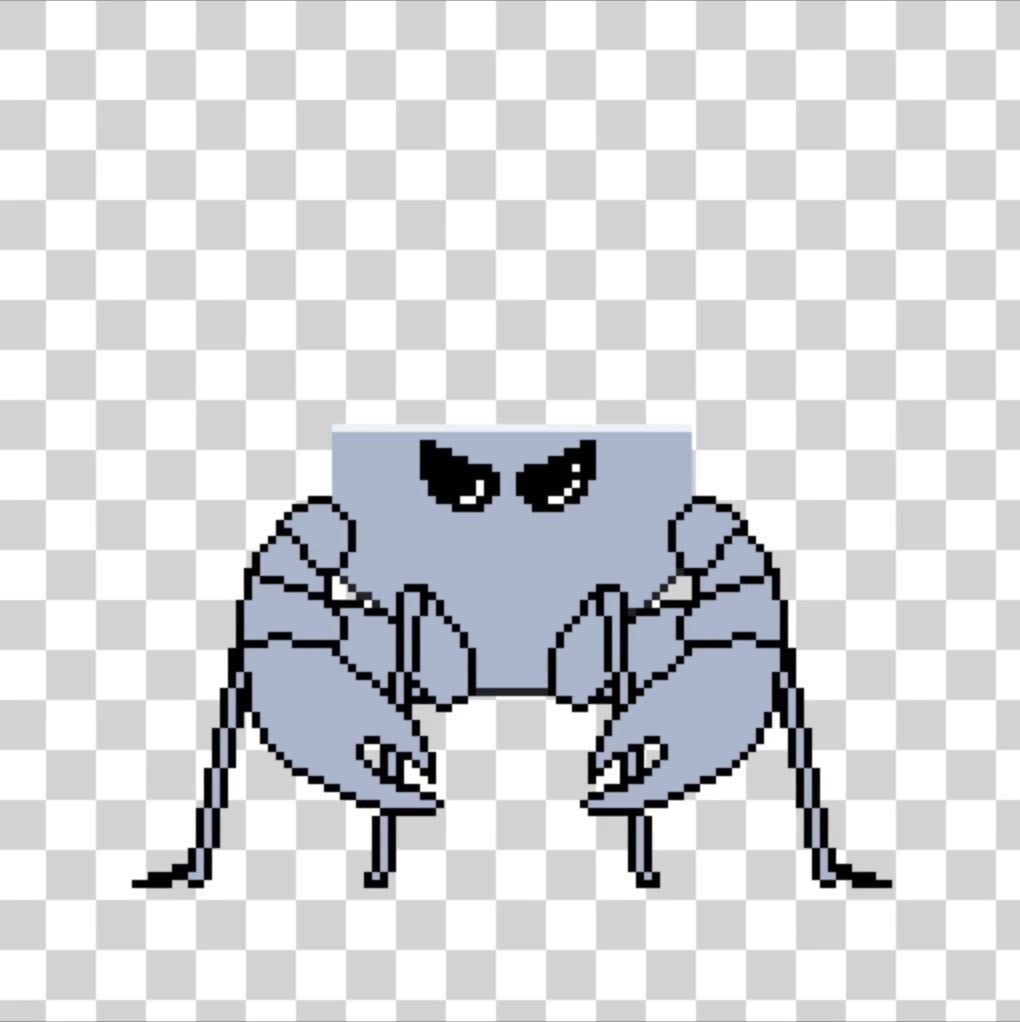
Arm Assets
Trying out #PixelArt arm assets in the scene. Arms behave a bit differently because they’re positioned to a specific row in the body, allowing them to join where the shoulders would naturally be located.

Update
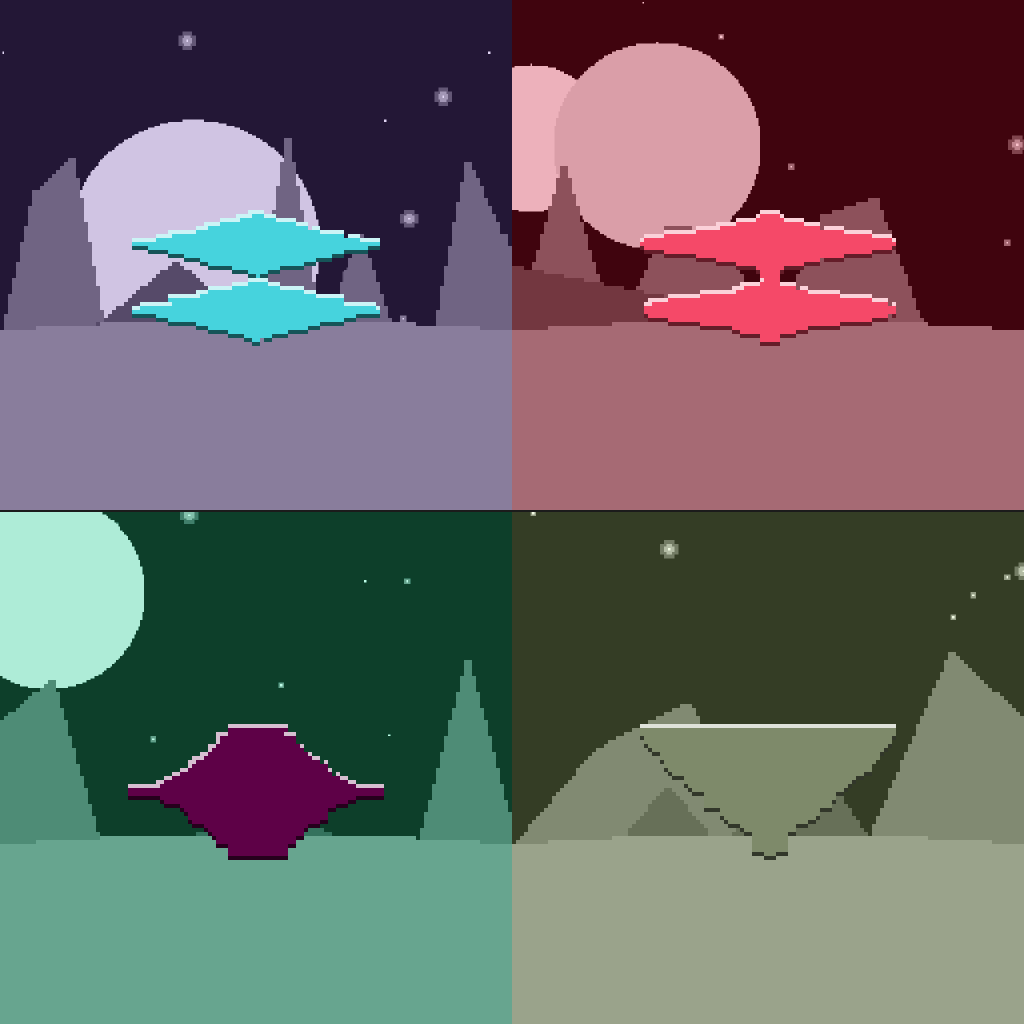
More Assets
Previewing more #PixelArt assets in more scenes. Some assets, like “wings” have variants. Value pairs in the key determine the probability of an asset group displaying and which variant, in that group, is used.
Update
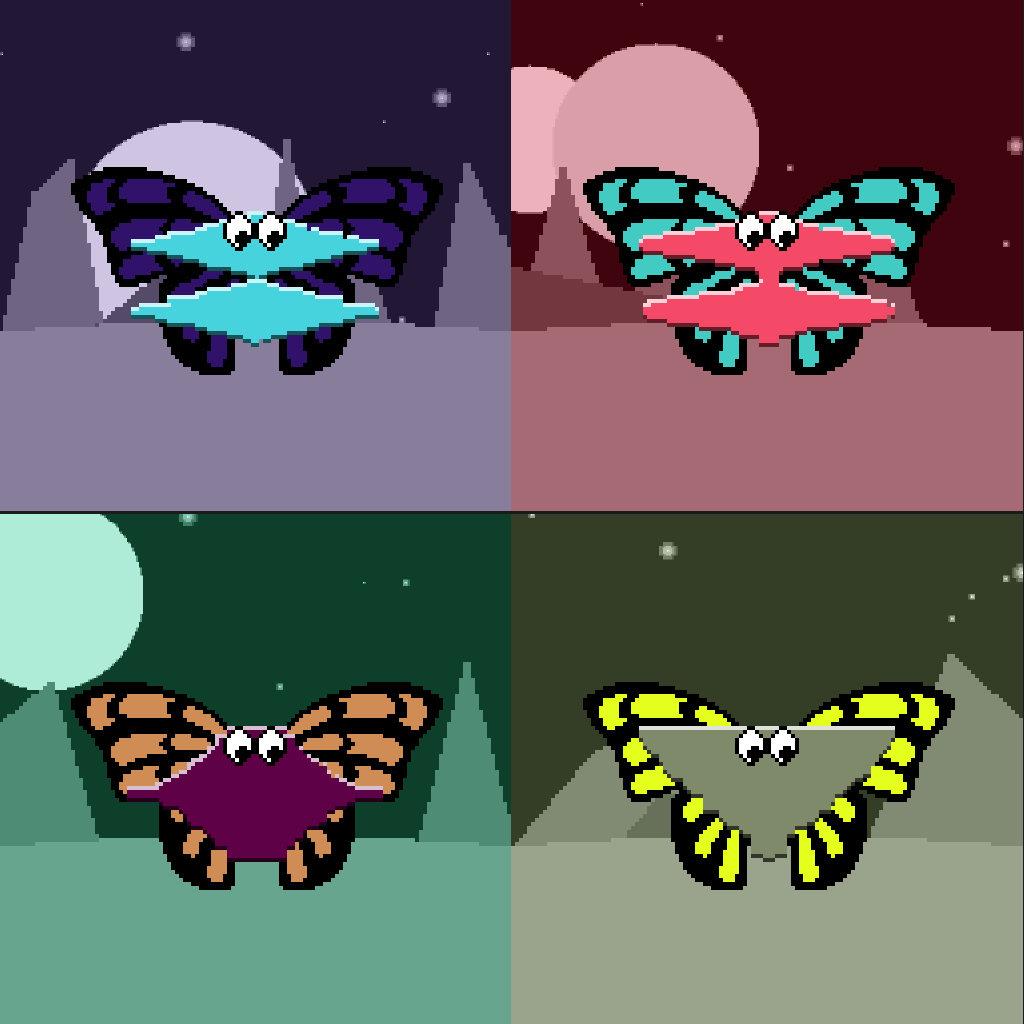
Assets
Placing the first #PixelArt assets into the scene. Pixels are rendered as 1x1px rectangles on the canvas. A reflection/translation method allows me to re-use symmetrical assets to save space.
Update
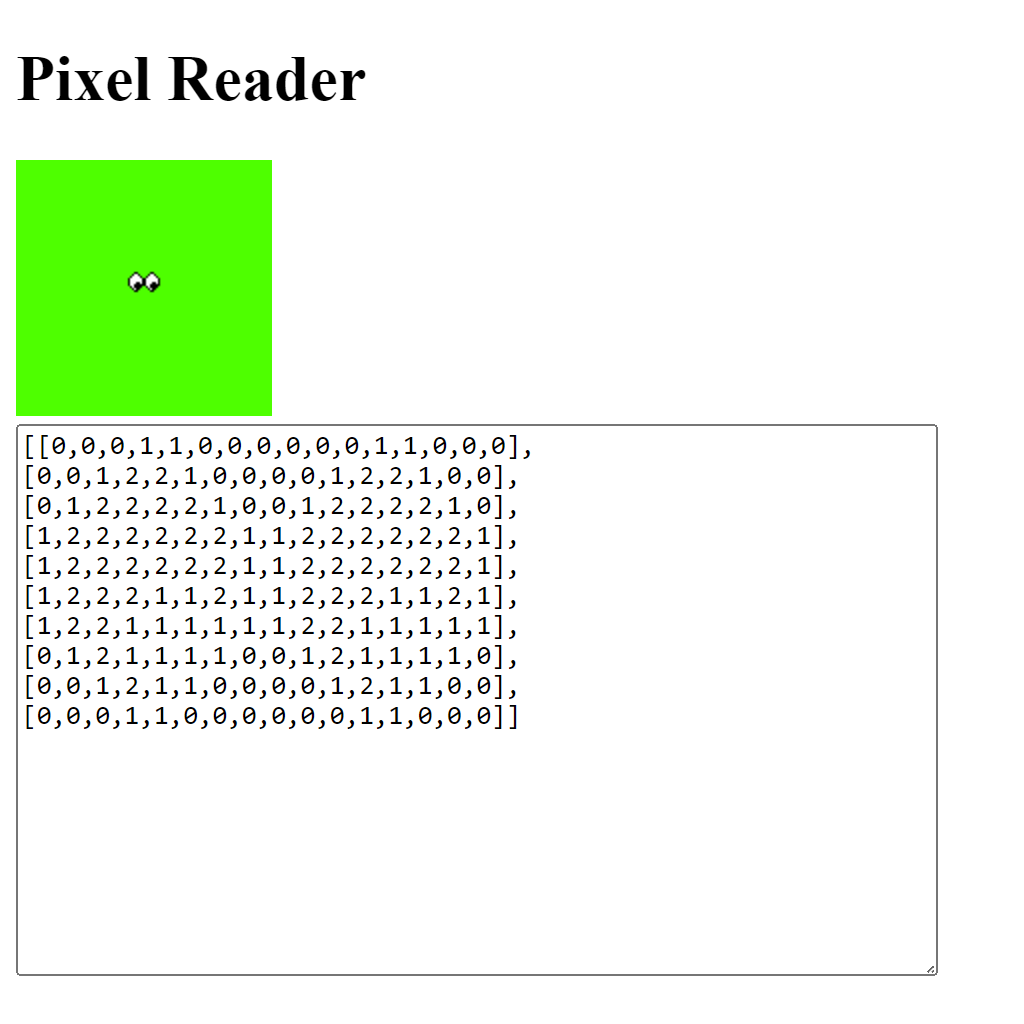
Pixel Reader
A look at my #JavaScript tool that converts images to an array of color values. This is an earlier test with my “eyes” asset from #PhotoShop, you can kind of see the image in the array output. Next step is to compress it into hex values.
Update
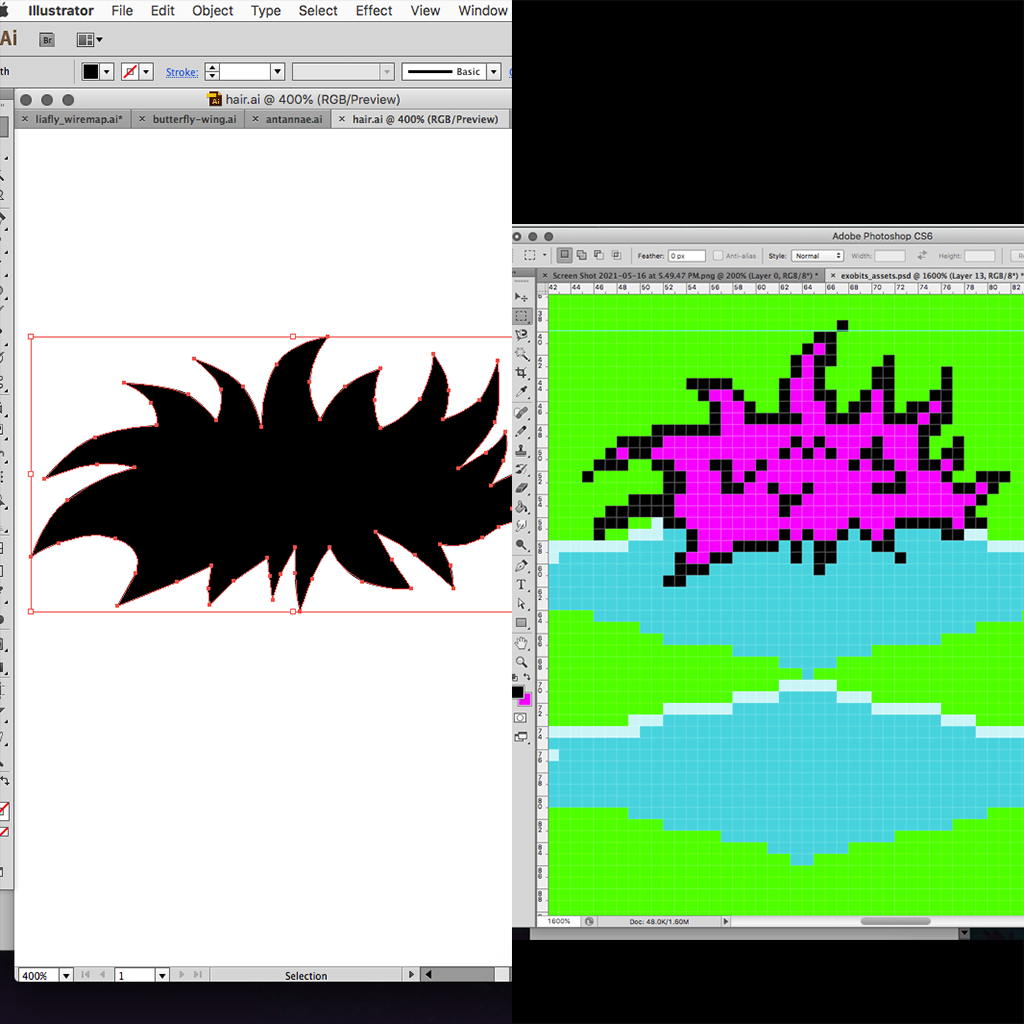
Asset Workflow
A look at my #PixelArt workflow. I start by drawing the shape in #Illustrator. Then I copy to #PhotoShop to scale and clean up the final piece for conversion into a #JavaScript array.
Update
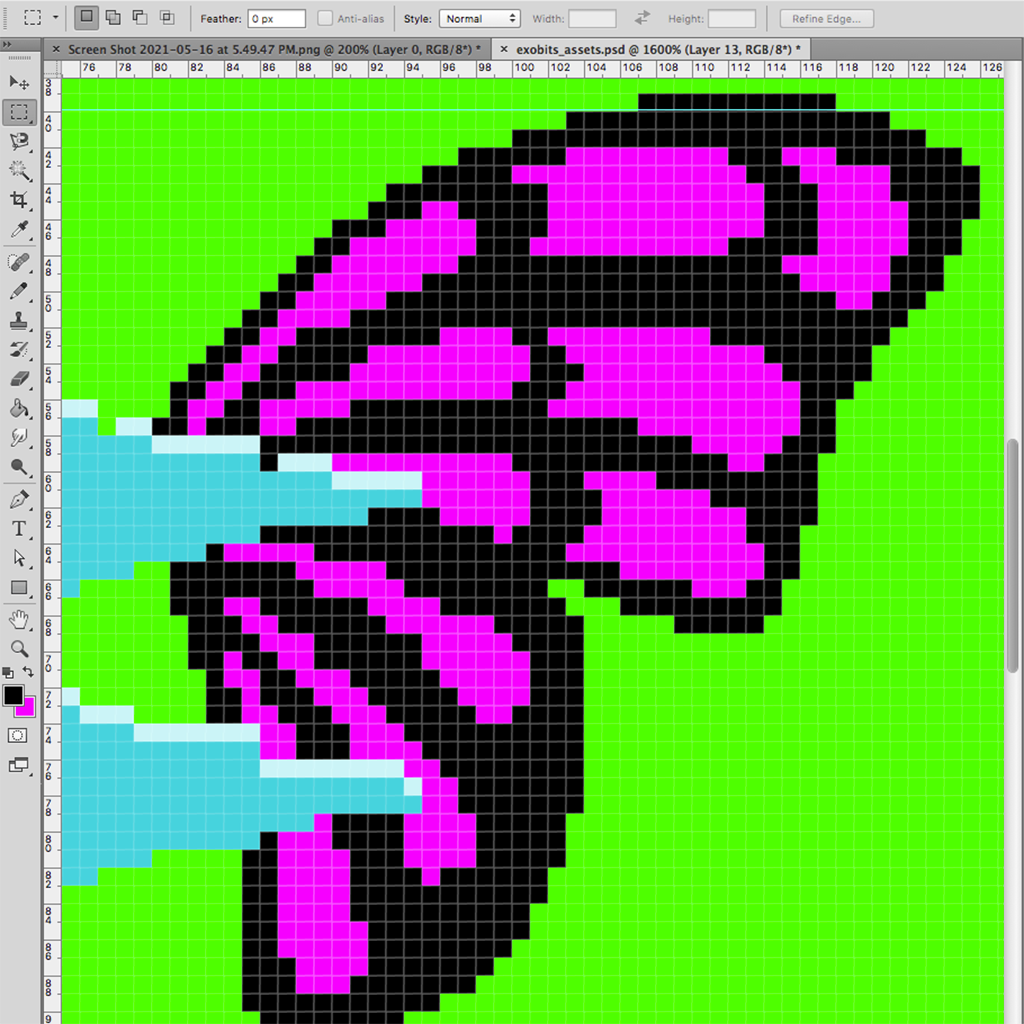
PhotoShop Asset
Working on a butterfly wing asset image in #PhotoShop. The magenta color represents “custom”, a fourth possible value which represents a color derived from the key.

Update
PhotoShop Prep
Rendering the body data in my pixel map #JavaScript allows me to export them as actual size images. I’ll bring them into #PhotoShop as references when drawing the character body parts.
Update
Pixel Map Test
Working on a tool that reads image pixels and converts them to an array of numbers 1-3 representing transparent (green here), black and white. This will allow me to draw image assets in #PhotoShop and embed them in the #JavaScript.
Update
Body Types
Experimentation with #PixelArt rendering. Body types are generated by sorting the data differently. I added a `BodyBrush()` #JavaScript function that automatically adds highlights and shadows to the edges.
Update
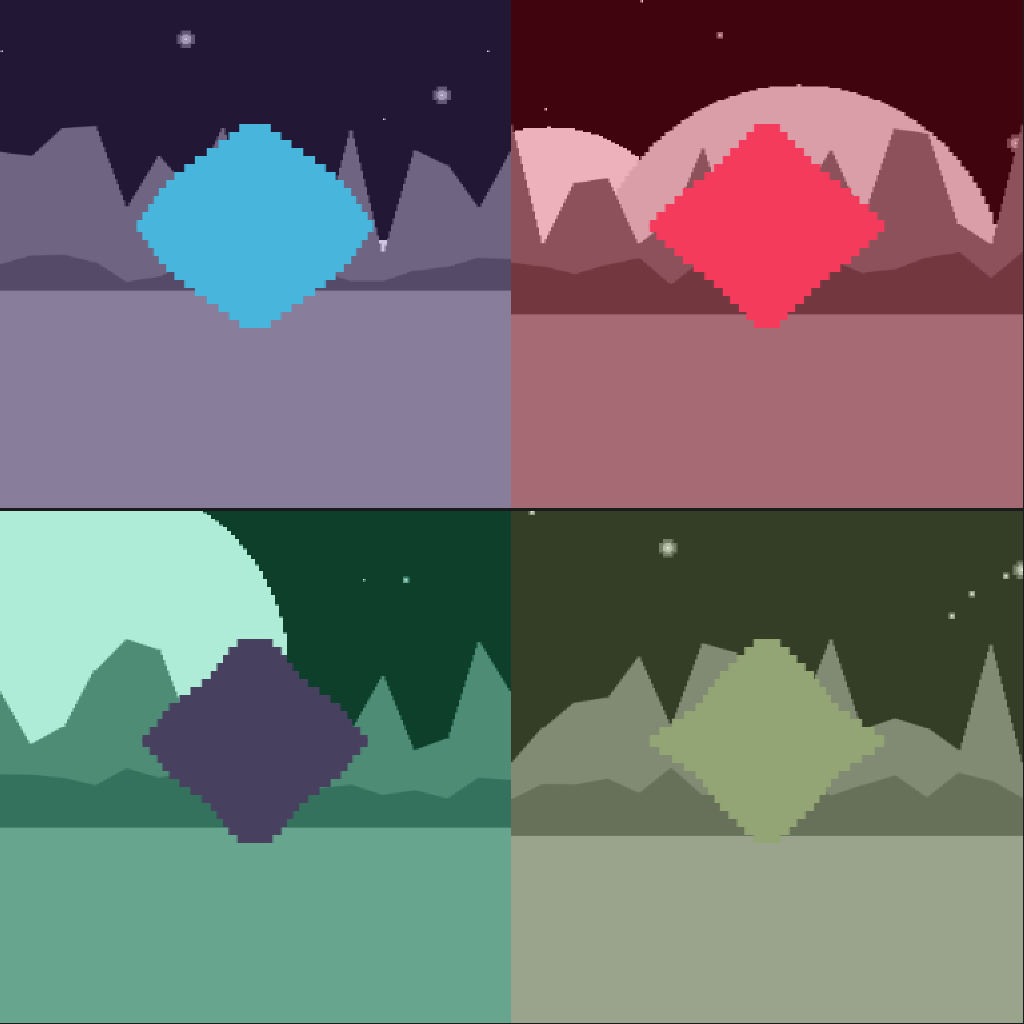
Character Body
A first attempt at the character’s body. Key values are first sorted. Then alternating values are separated, reversed, and appended to create the diamond shape. The rectangle series technique is used again, this time at 128px resolution.

Update
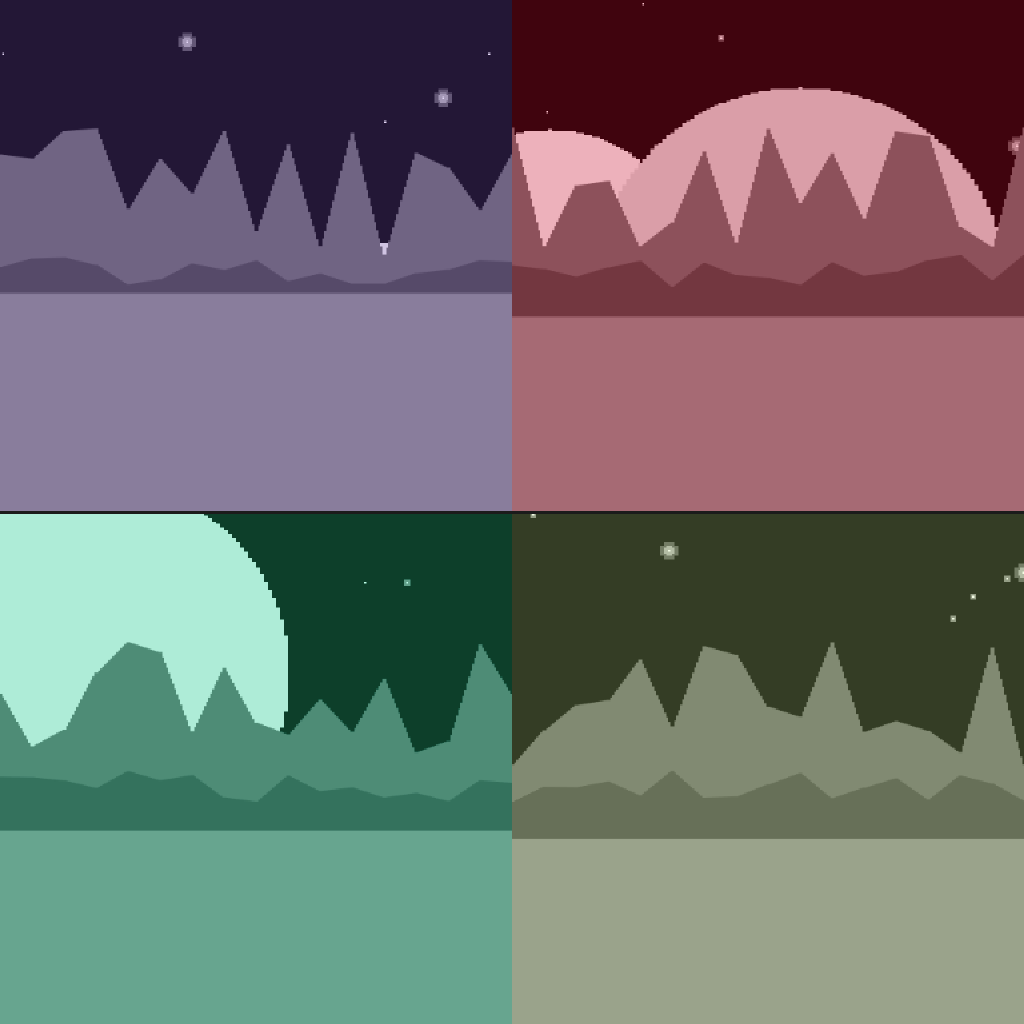
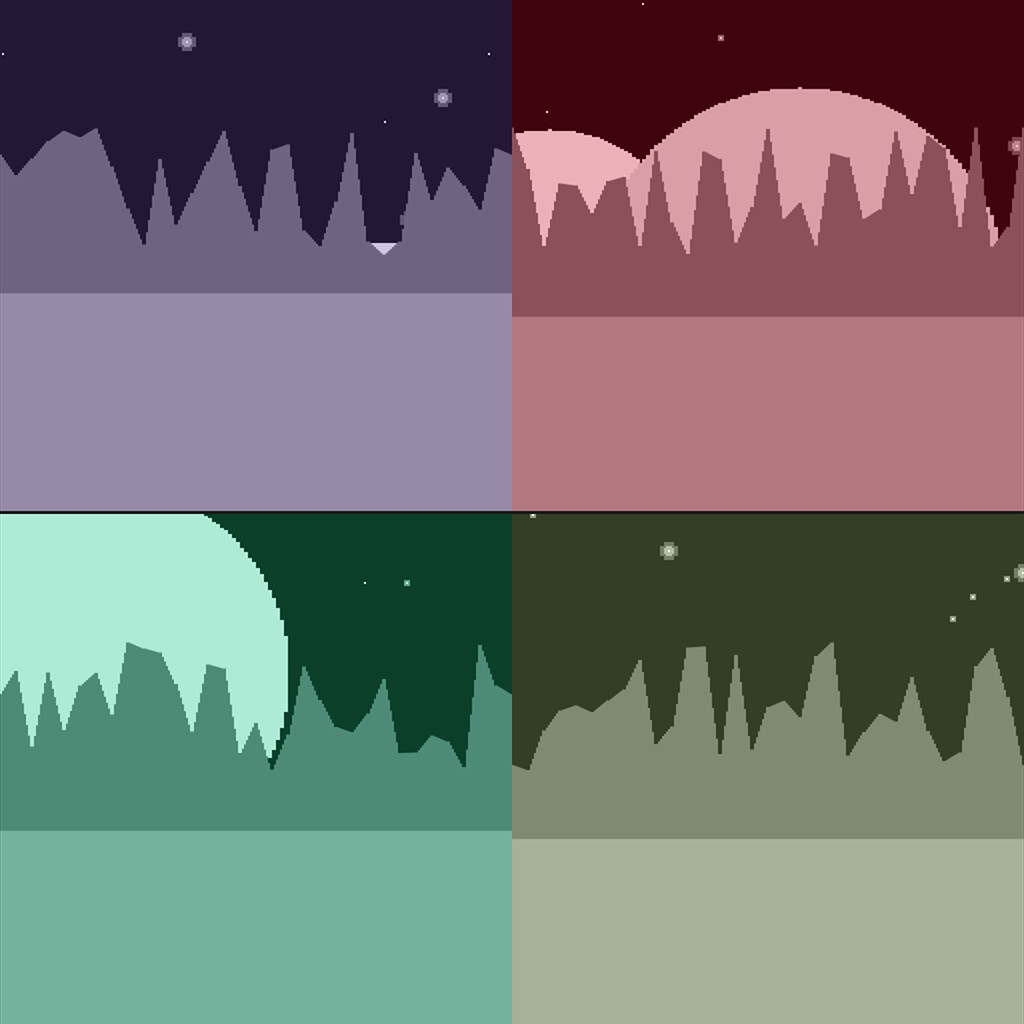
Low-Res Landscaping
Further improvements to the landscape #JavaScript. The key is now clamped to a lower bound leaving only a few peaks, the mountain slopes are then filled in with a linear progression.
Update
Landscape Improvements
Improvements to the landscape functions, now the data is separated into low and high values to generate a second mountain range.
Update
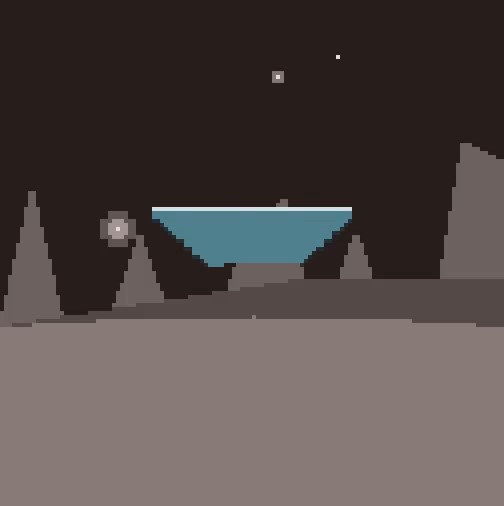
Landscape
Some #ProceduralArt peaks added to the scene. This is essentially a histogram of the key values. It’s rendered as a series of rectangles, the same technique as the moons.
Update
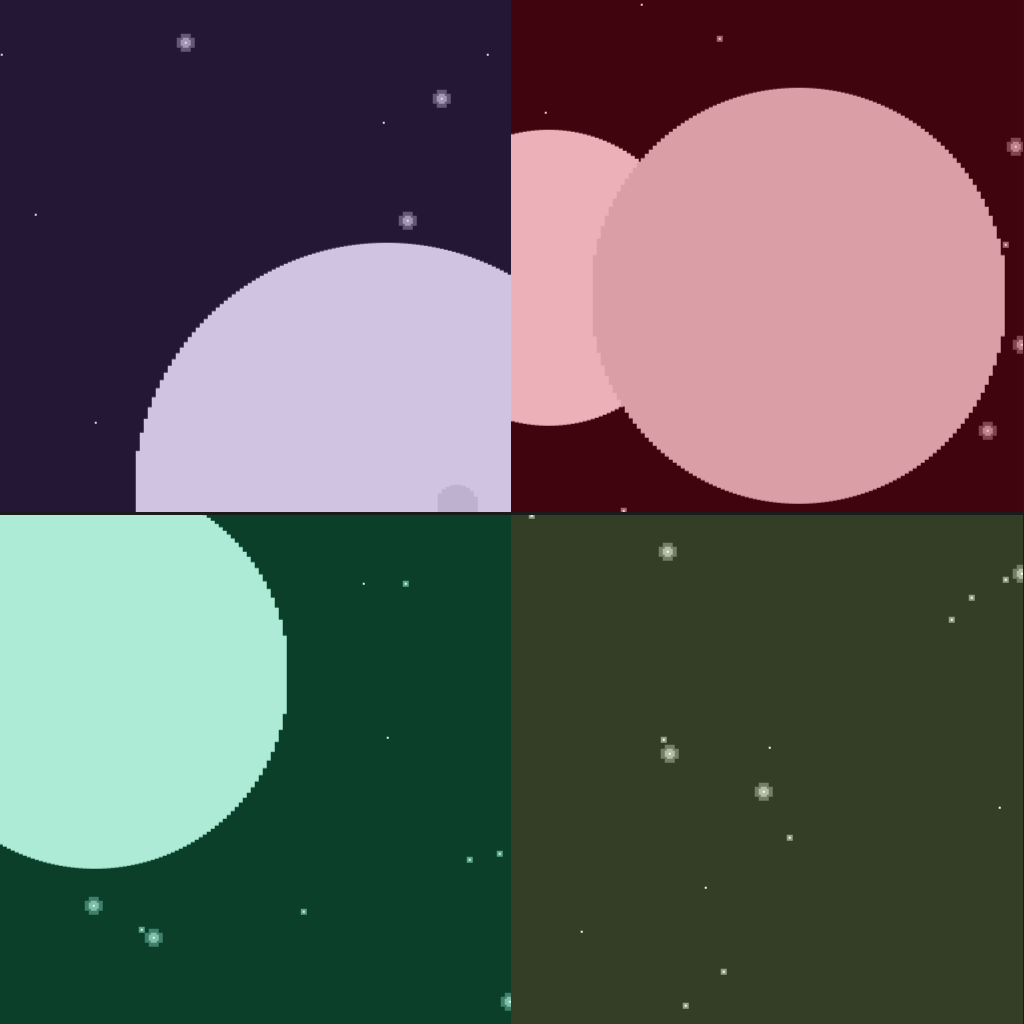
Atmosphere
A color overlay is generated with 3 hex pairs from the key; representing Red, Green and Blue values. It’ll be re-used in the character bio, correlating each color to a gas in the home planet’s atmosphere.

Update
Celestial Body Improvements
Testing the #ProceduralArt script with multiple key values. Each piece renders 1-3 moons which can be positioned anywhere on the canvas and have a radius from 0 to 128px. You can see the varying starfields in the background as well.
Update
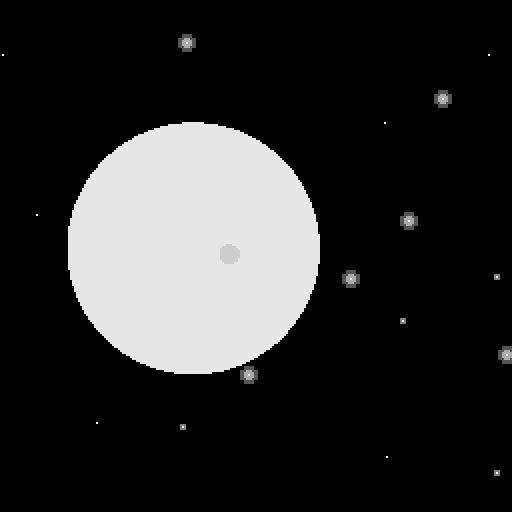
Celestial Body
Adding some nearby moons to the starfield. Rather than using the #JavaScript ellipse() function, these are a series of 1xN size rectangles, giving it the low-res #PixelArt look. The entire background is drawn in at 256px resolution and scaled up to 512.
Update
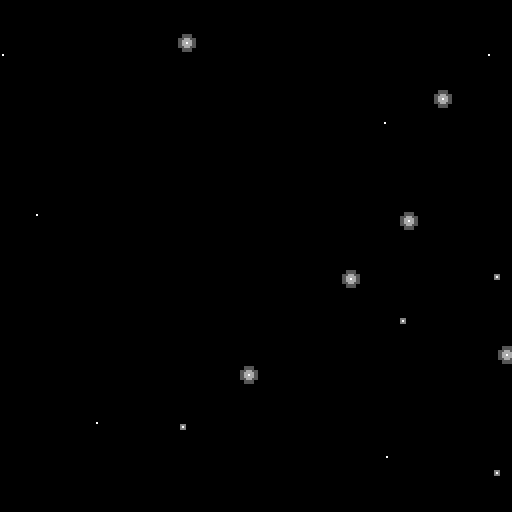
Starfield
Starting off my new #ProceduralArt #nft project with a starfield background. The 64 hex digit key is divided up into pars of 2 to represent the x/y coordinates for 16 stars. The second digit of the x coordinate is used to represent intensity.